Hello everyone,
I hope that you have had a wonderful Summer and are now settling into the Fall quilting season. The transition has been made easier for me, as we’ve had several days of cool temperatures and lots of rain (yuck). It’s like the Fall weather has decided to just hit us big time, so that we realize Summer has come to an end. Oh well, enough about the weather, let’s talk about quilting.
At the beginning of September, I announced my new Mini Quilt Club. Starting September 1st and running through until February 1st, 2016, I will be releasing a new mini quilt pattern to club participants.
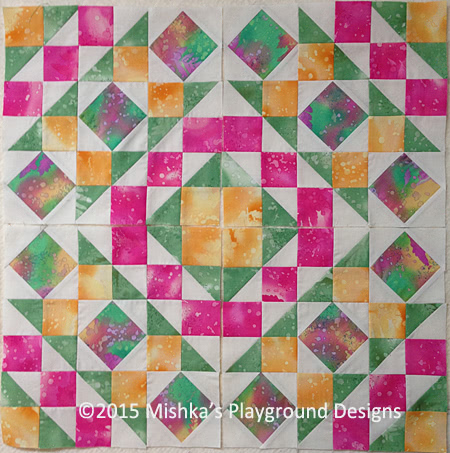
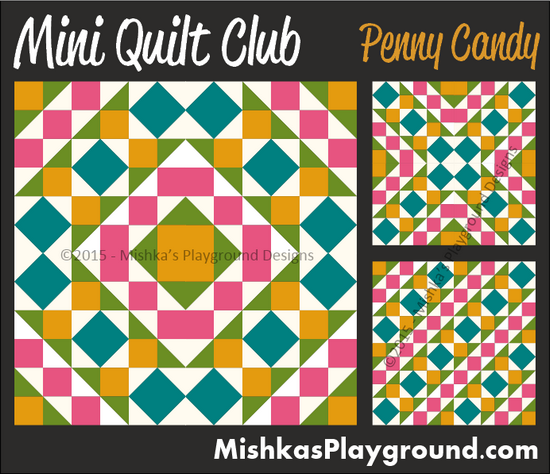
The first Mini Quilt, released September 1st, is Penny Candy. Included in my pattern for this quilt, are three layout options, as shown below:
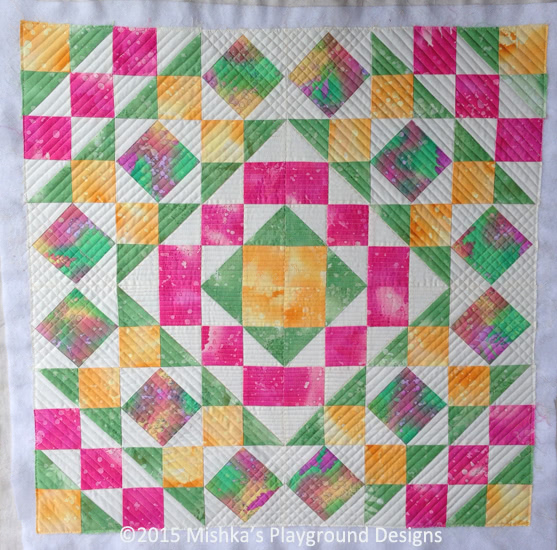
I have chosen this layout option for my mini quilt:
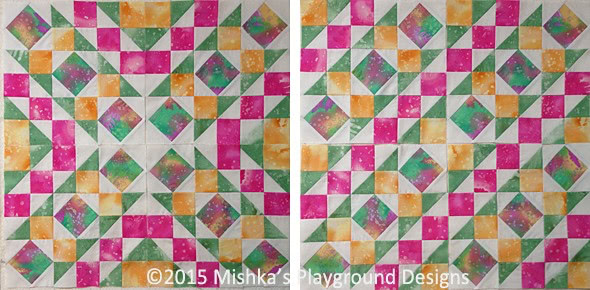
In fabric, here are the other two layout options:
For my mini, I chose to do straight line quilting with a walking foot. The Craftsy class, Creative Quilting with Your Walking Foot with Jacquie Gering, is fantastic and I learned many tips and advice that helped me with my quilting.
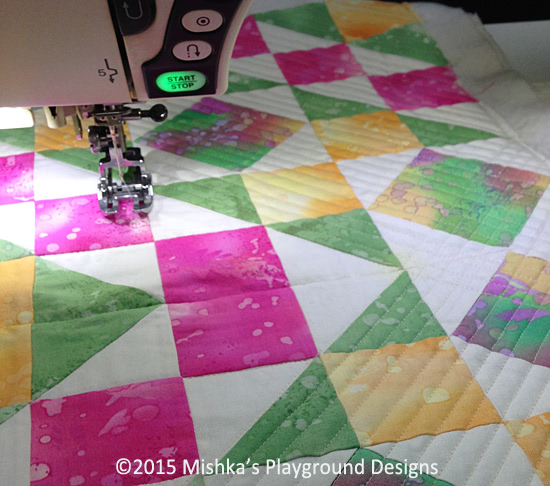
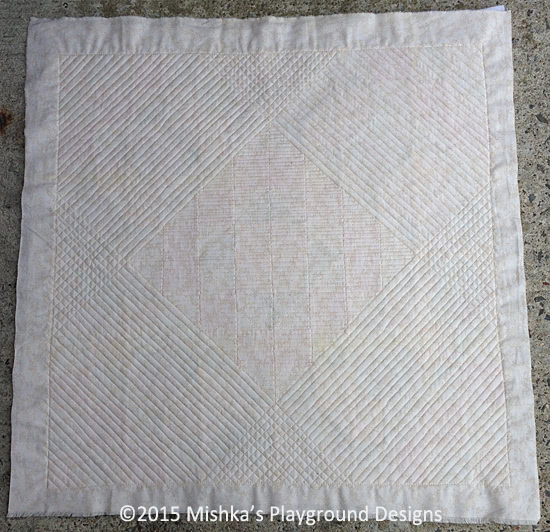
To get started, I focussed on the triangular corner lines, following the piecing lines. I first stitched in the ditch following the piecing lines, then I stitched half way (~1/2″) through each segment. Then I went back and stitched half way through each segment, resulting in lines that are ~1/4″ apart.
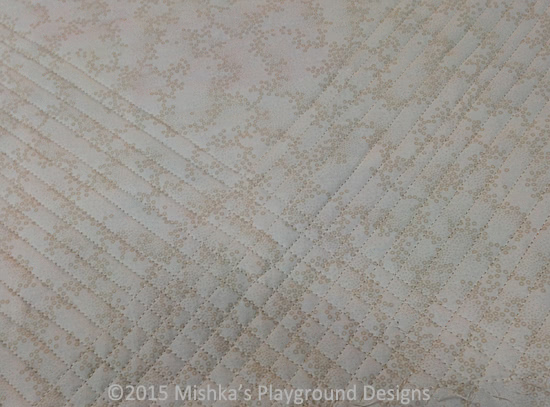
I love the beautiful cross-hatching that formed in the middle when the corner lines intersected.
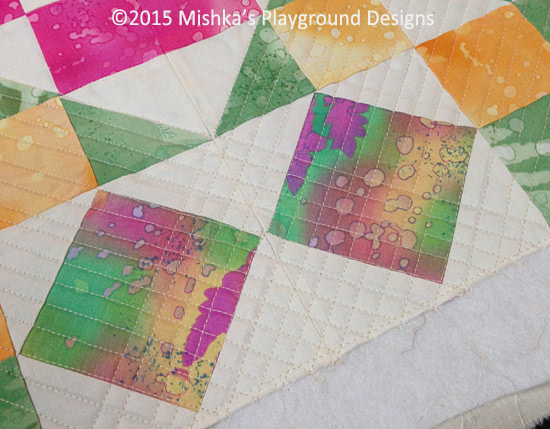
Once the corners were done, I stitched in the ditch the centre section following the piecing lines, in both directions.
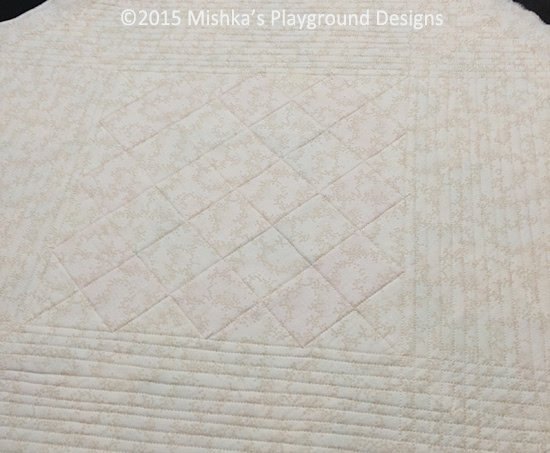
To stitch the middle lines, instead of drawing them first or using painter’s tape, I used my free motion quilting ruler as a guide and stitched along the edge of it with my walking foot. Note that in the photo, I’m not centred, I ended up using the red line I’ve drawn on my ruler as the guide.
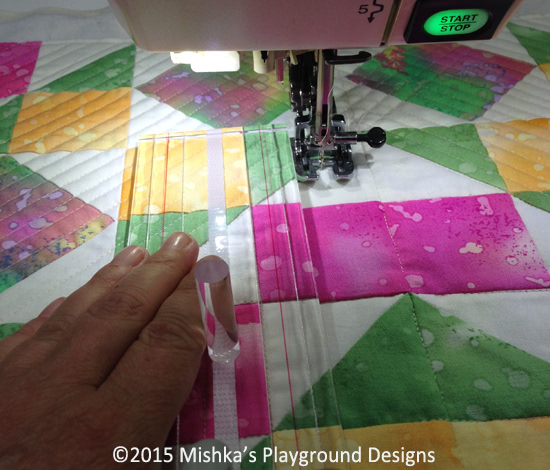
Once the centre lines were stitched, I then eye-balled the next lines, which are ~1/4″ apart, and stitched in the middle of the previous stitching.
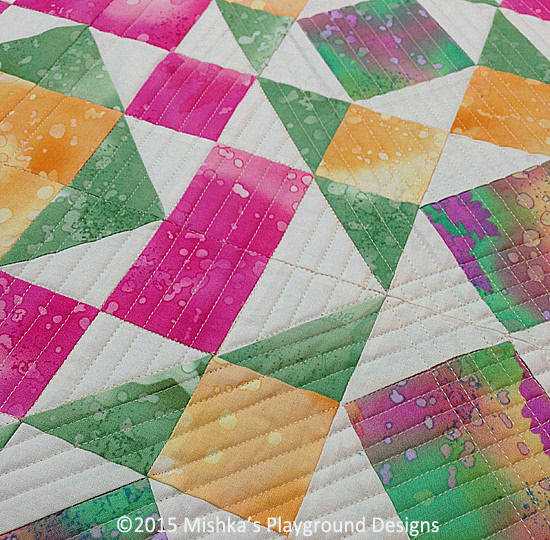
Finally, I went back and stitched another line through each of the 1/4 lines, resulting in lines that are ~1/8″ apart. I decided to only stitch the centre section in one direction.
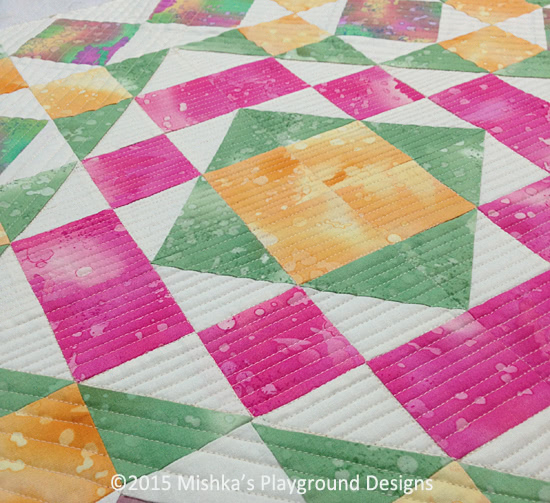
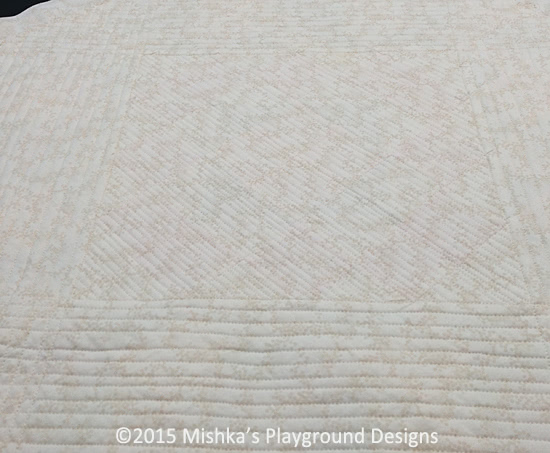
I’m really pleased with how this mini quilt turned out. Yes, my lines are not perfectly straight, nor are they evenly spaced, but I love it anyway. I found this type of quilting to be very enjoyable. I used two full bobbins of Aurifil 50wt thread just for the quilting.
Here are photos of the finished front and back:
Michele – I am curious as to why you started the quilting in the outer portion. I typically see advice to start in the center and work your way outward. (I’ve already purchased Jacquie’s class and I’m loving it!)
Meg,
No real reason, except that I already knew how I wanted to quilt the outside, but wasn’t sure on the inside. Yes, generally starting from the inside out is good, but for such a small piece that was well basted, I didn’t think it was necessary. I did do the most inner corner stitching lines first though.
HTH,
Michele
I love it! The colors are beautiful! Can’t wait to get caught up on A4A2 and start om mine!!! I love your idea for the quilting, it is simple yet complicated looking! and goes perfect with the pattern!
thanks so much for the kind words and the recommendation for folks to join the crafts class. the quilt and the quilting…simply awesome. congrats!!
What a beautiful pattern. I love the fabrics you chose and the quilting is wonderful. I do a lot of free motion quilting but haven’t done a lot of straight line quilting. Your quilt want me to give it a try. Thanks for sharing your wonderful quilt!
I love the quilting–it really sets off the project! Beautiful!
Beautiful work on the quilting. It creates such great texture!!!
It came out just beautiful! Well done!