Earlier in the summer, I shared with you the plan I had for a baby quilt I was making. See the first post here: The Making of a Baby Quilt. I finished the quilt a while back and the baby now has it to cuddle under as the days get colder up here. Since I can’t enter this week’s Quilts for Babies contest, I’ve been saving this post to share this week.
Coloured strips were cut at 3.5″ and the black sashing at 1.5″. I attached the black sashing strips to the coloured strips then subcut the strips into 5.5″ squares. I needed 9 squares of each colour.
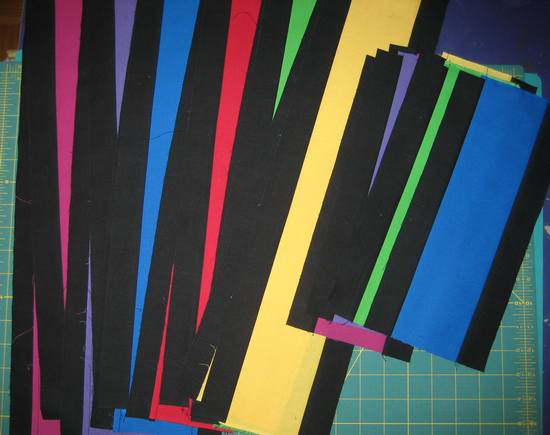
Stacks of blocks ready to be sewn into rows, based on my original design. I used scrap pieces of freezer paper to mark my rows.

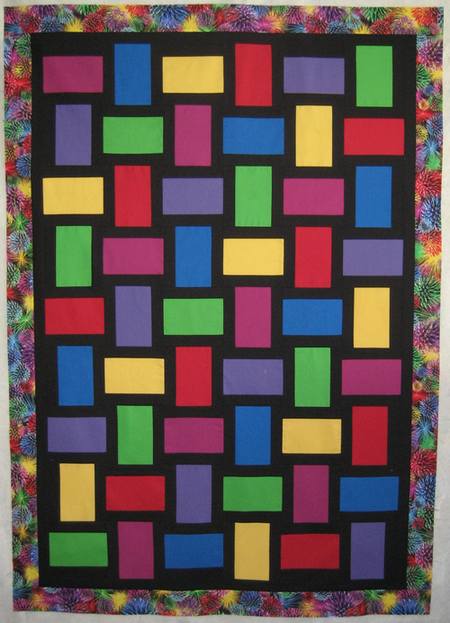
The quilt top piecing all done:
I used Crayola washable markers to mark a diagonal grid on the coloured rectangles. These pieces finished at 5″x3″ and the lines were drawn at 1″ increments.
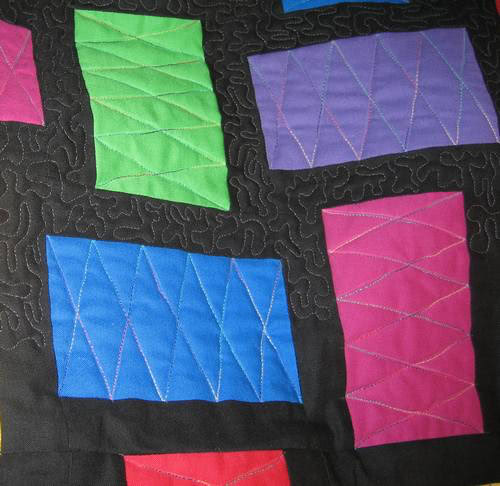
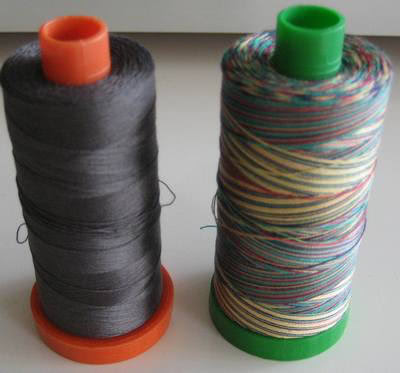
I stippled the sashing with a dark grey thread, Aurifil #2630 in 50wt. For the blocks, I used a primary-coloured variegated thread, Aurifil #3817 in 40wt. I loved using the dark grey thread on black fabric. Not only was it much easier to see while stitching, I love how it added just a hint of sparkle to the quilt.
Quilting close-up:
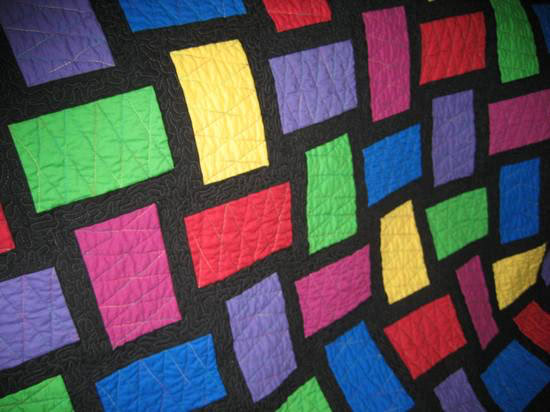
Quilted and bound:
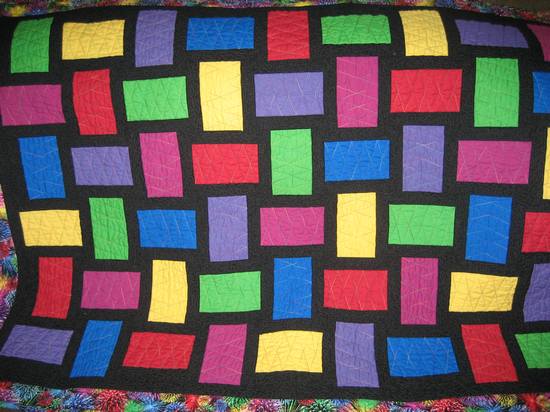
I backed the quilt with flannel.

Here’s Baby Quinn .. it was too hot to actually get a photo of him with his quilt the day I saw him.

What a fun quilt. I’ve never tried marking with washable markers before, but it’s a great idea.
Thanks Alex. Just be sure to test your fabrics first. I’ve never had any problems, but I always test my actual fabrics just to be sure. Also, I avoid getting the iron near the markings.
Cheers,
Michele
Lovely quilt…and what a good looking poppet!
Super cute quilt. Most of my pictures of my daughter are of her on top of the baby quilt a friend gave us – it was what we used for tummy time. Baby quilts are fabulous for that since you can’t use them in the crib :)
I love your quilt a lot such a nice way to show off plain colors.