
By: Pat Sloan
Almost all quilters start to quilt by learning how to “Piece”. You know… cutting perfectly good fabric into small squares, rectangles and triangles. Then sewing those back together to make an awesome quilt block. Then we do it again, and again, and again!
Many of you stay at piecing your entire quilt career and many venture out into the wild world of other quilt techniques.
Michele and I wanted to explore the very base of our craft, the pieced block.
- When was the last time you pieced a block? I bet many of you say this week!
- When was the last time you had some trouble with that block?
- Or maybe your a very new quilter and still working through what a block is.
I invited Faith Jones of Fresh Lemon Quilts to guest post a basic piecing tutorial… take it away Faith!
Quilt Piecing 101
By: Faith Jones of Fresh Lemon Quilts
Basics:
- Piecing a quilt is the process of sewing your cut fabric pieces together.
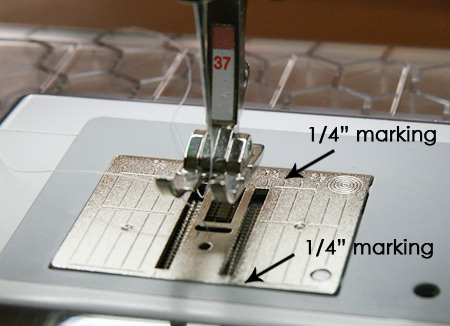
- Typically in quilting, your seam allowance is 1/4″. Your sewing machine may have markings so you can easily line up your fabric for piecing.
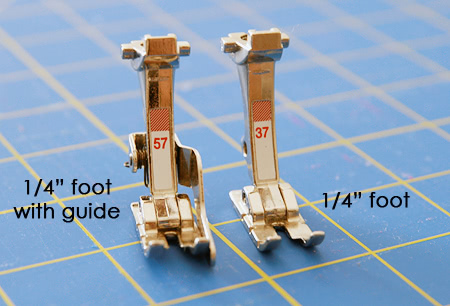
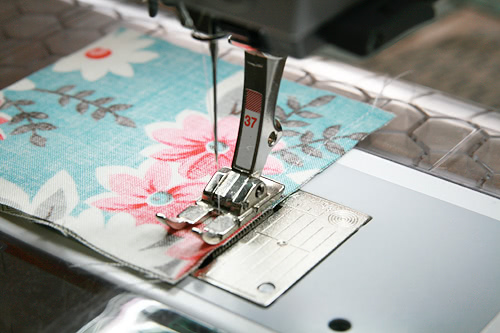
- You may also purchase additional sewing machine feet to help accurately piece your quilt blocks. I have two 1/4″ piecing feet. You can see that one of the feet below has a metal guide to help achieve a consistent 1/4″ seam allowance.
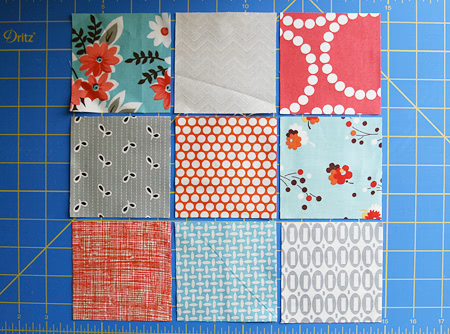
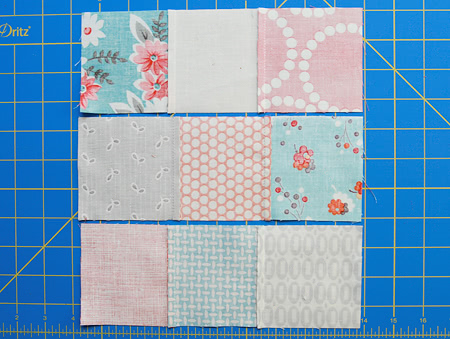
In this tutorial, we are going to piece together a 9-patch quilt block which will measure 9-1/2″ x 9-1/2″ unfinished. Let’s get started!
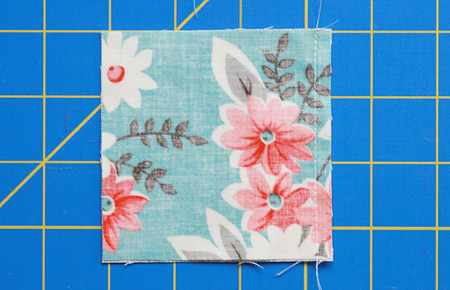
Step 1: Using a rotary cutter and quilter’s ruler, cut 9 fabric squares measuring 3-1/2″ x 3-1/2″.
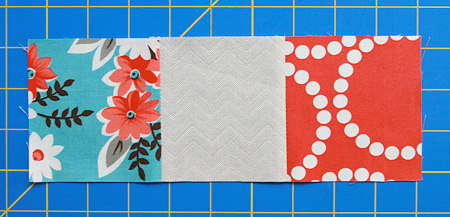
Step 2: Let’s start by sewing the top row of 3 blocks together. Take the first 2 squares and place them right sides of fabric together.
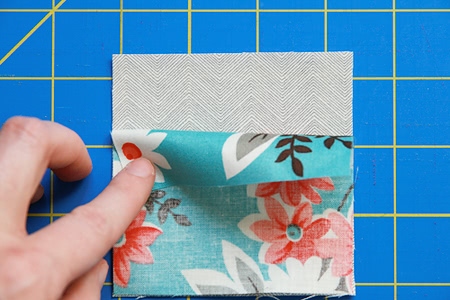
Step 3: Line up the edge of your fabric along the 1/4″ markings on your sewing machine. Stitch a straight line down the entire side of the squares.

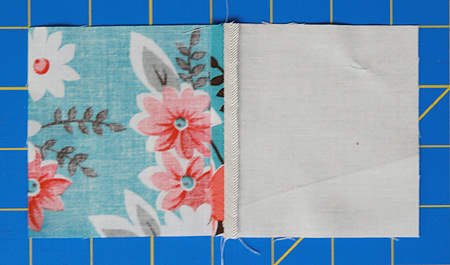
Here is how your fabric will look once you are done sewing your 1/4″ seam.
Step 4: Time to press the seams. There are a couple ways to do this, and it typically comes down to personal preference. Some like to press their seams open.
However, when I’m sewing rows of squares together, I like to press my seams to the side. (I will explain more on why later in the tutorial.)

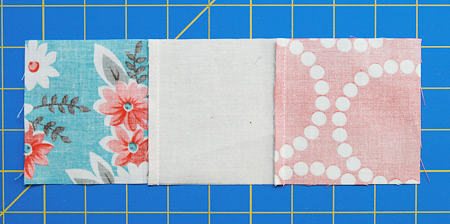
Step 5: Repeat this process with the 3rd block in the top row. Press the seams in the same direction as the first seam you pressed to the side.
Step 6: Repeat this process with the 3 blocks in the second row of squares. Press the seams in the opposite direction as the first row you pieced.
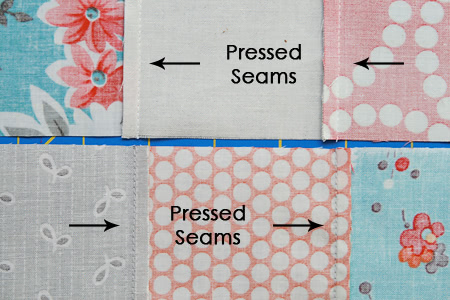
Step 7: Repeat this process finally with the 3 blocks in the third row of squares. Press the seams in the opposite direction as the second row you pieced.
Step 8: Now we will sew the rows together. Place your first and second row of squares right sides of fabric together. Line up your seams.
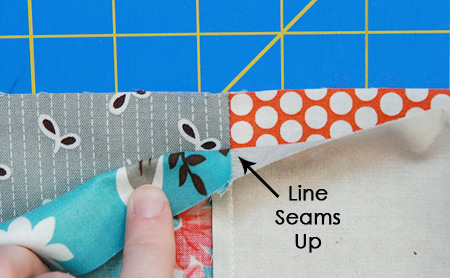
This is where you will see the benefits of alternating the pressing of the seams to the sides. When your blocks are lined up, the pressed seams will lock the blocks into place keeping everything aligned perfectly.

Pin your rows together:

Sew down the full length of the row:

Press your seams either open or to the side:
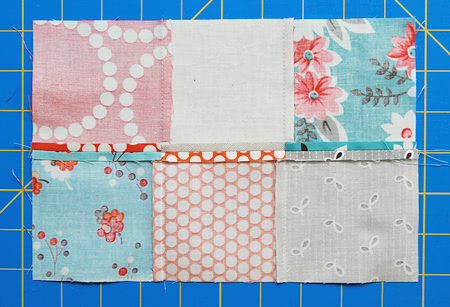
Step 9: Repeat this process to attach row three. Congratulations! You’ve pieced together a 9-patch quilt block!

I hope you picked up a tip or two … I personally love the foot with the edge on it!

On Feb 13, 2012 Faith was on my radio show… why don’t you get to know her a bit better by listening to our chat!.
Be sure to check out her blog, Fresh Lemon Quilts, too… it’s filled with awesome tutorials and inspiration.
Question For The Day
I asked my Facebook group… “What problem do you encounter most when piecing?”
Matching seams

- A TIP from Laura at Facebook.. “Fork pins from Clover are the answer to perfectly matched seams. Fantastic product!”
- Roseann Kermes has a blog post on them: Stick a fork in it!
Maintaining 1/4 inch seams and a quarter inch can vary quite a bit from one machine to another
- Sandi from Piecemeal Quilts has this great tutorial: Quarter Inch Seams
- Another write up on the The Perfect 1/4″ Seam
- Also for a video look under ‘Machine Minute Section’ for the 1/4″ seam video at All People Quilt site.
I have trouble Understanding some Directions
As a pattern writer and someone who also teaches hundreds of quilters in my workshops each year… I totally hear you on this one! Everyone understands directions differently. My recommendations for understanding directions that are not clear to you…
- Read through all the steps before starting. Sounds simple.. but I know we are very impatient and often just ‘jump in’ and go!
- Write to the pattern designer or publisher for clarification. They are more than happy to get you going!
- Have a friend read over the directions, one who does not learn the same way you do.
- If there is no diagram, sketch one yourself. That way you’re sewing with your pencil first.
- Try looking on YouTube for a video of the technique.
- Search online at places like AllPeopleQuilt.com for a similar block and see if they gave different directions that work better for you.
Stretching the fabric and how do I keep everything square

I do find that Fabric can have a life of its own. It stretches, and some fabrics stretch more than others. Our pressing, seams and everything else we do to a block will have an effect on it. Lots of people Starch or use Best Press on the fabric before cutting. This helps to ‘firm up’ the fabric so it does not stretch on bias. Experiment with it and see if it helps you out.
Here are some tips: How to Square Up Quilt Blocks and I found this great PDF write up Squaring Up Quilt Blocks.
Give-Away!
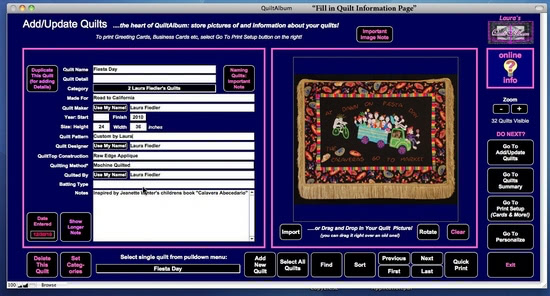
Click on over to my blog today.. I’m hosting a giveaway of TWO copies of Quilt Album quilt tracking software!
And in the true spirit of Quilters Helping Quilters… can you answer any of these questions your fellow quilters sent in?
- “Finding Time” or “My impatience. oh, yeah, and kids’ needs (aka “demands”) distracting me”
- Trying to press open 6 or more seams…getting them to spiral open correctly
- Y seams, square blocks, and those multiple seams
- Matching seams on half-square triangles and keeping true 1/4″ seams
- Stitch and flip not lining up properly once flipped – seems like I’m always having to adjust a line
- Running out of bobbin thread and not knowing it when chain piecing
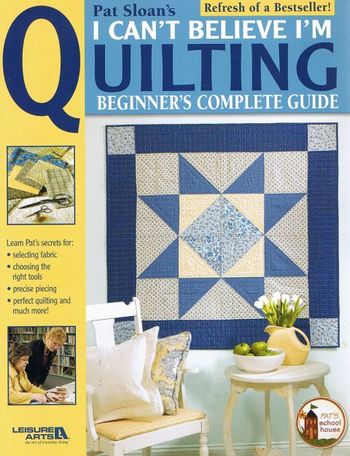
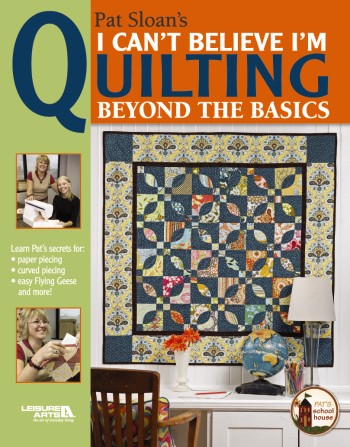
My Books: Learning to Quilt
I have 2 books for learning to quilt. “I can’t Believe I’m Quilting” and “Beyond the Basics”.

Pat Sloan is owner and founder of the quilting design and publishing company Pat Sloan & Co. She has published over 25 books, more than 100 patterns, nearly 10 fabric lines, and has had her work featured in all the major Quilt magazines. In January 2010, Pat started hosting her weekly Internet Radio show called Creative Talk Radio.
Find Pat here:
Web Site | Blog | Radio Show | Facebook | Twitter
Quilt Forum | Pinterest | Newsletter
Make sure you test your 1/4″ foot. My Janome edge foot is about three threads wider than it should be. That makes a huge difference when you’re piecing.
Thank you LeAnne, it’s an important point to test!
great post.
I have learned the sound of when my bobbin runs out of thread. Probably not much help. I have an older machine that doesn’t have all those fancy beeps. After sewing with it for so many years you kind of know that sounds just like on your car.
Great tutorial on sewing fabric squares with a 1/4 inch seam. Basic to most quilters, but as a fairly new and laboring beginning quilter, it provided lots of good tips. Thank you.
If you are partner sewing a quilt, make sure that your team uses the same sewing machine and the same foot when piecing the quilt. NOT ALL 1/4″ FEET ARE CREATED EQUAL! It is very important to always do this.
If you are partner sewing a quilt, make sure that your team use the same sewing machine and foot when piecing the quilt. NOT
ALL QUARTER FEET ARE CREATED EQUAL! This is very importnt to kieep in mind.