
Hi everyone, welcome to Block 6 of the Beginner’s Quilt-Along (QAL).
If you’re new here, you can join the QAL at any time. Complete the blocks one at a time each week, or you can set your own pace. No stress! Most of all, have some fun and hopefully learn a few tips and tricks along the way. See the main Beginner’s QAL page for more information and additional links.
Pat Sloan is quilting along with us too. She’s making three sets of blocks using her gorgeous Eat Your Fruits and Veggies fabrics. Pat has posted one of her variations of Block 6 on her blog.
Don’t forget to upload your completed block to the Flickr group each week for a chance to win prizes. Winners are chosen randomly from the completed blocks submitted by 2:00 p.m. EDT on Wednesday. Check the Sponsors and Prizes page to see all the goodies.
This week’s prizes and last week’s winners are at the end of this post.
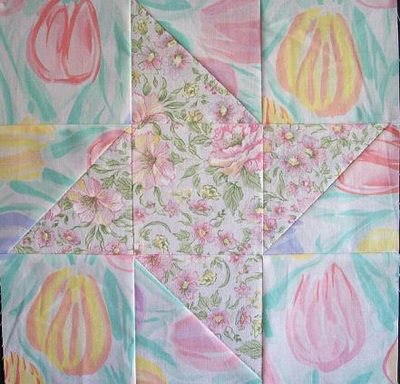
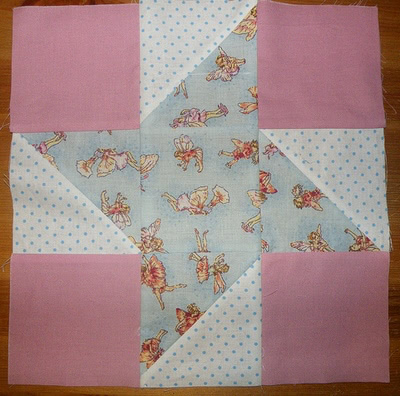
Block 6 – Go on a Picnic

This week’s block is Go on a Picnic also known as The Calico Puzzle. According to Jinny Beyer’s The Quilter’s Album of Patchwork Patterns, this block was designed by Eveline Foland and first appeared in the Kansas City Star on September 13, 1930.
I wasn’t able to find a quilt featuring just this block, however, it is one from the Farmer’s Wife Sampler Quilt and I did find several colour variations for it on Flickr. You can click the links underneath to see the full image on Flickr.
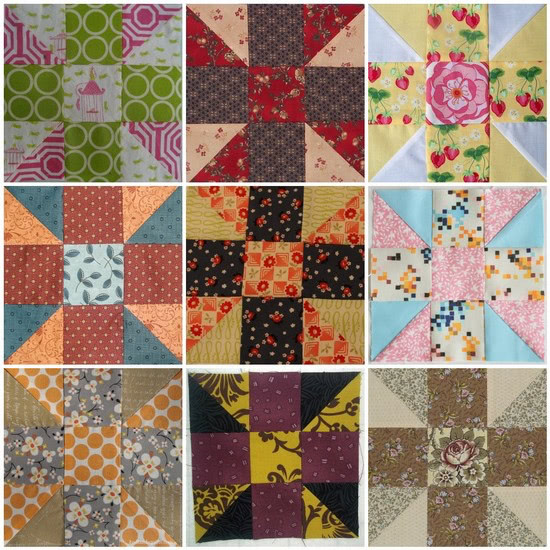
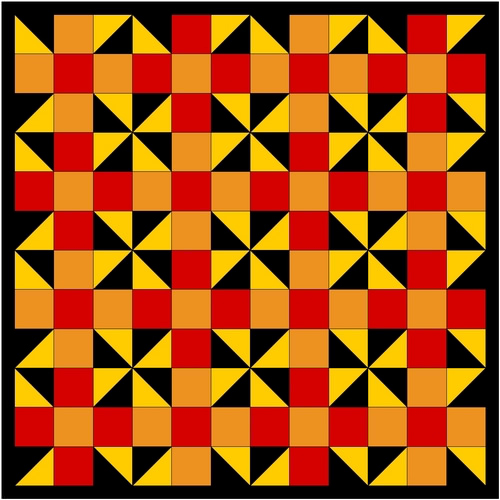
I think this block lends itself to being scrappy, especially if the HSTs are a consistent colour. Here’s a quick variation using two different coloured blocks that I did up in Electric Quilt 7.
A note about block colours: This block uses three colours to create the design; however, I chose to represent it with four colours by changing the centre block to a different colour than the HSTs. The centre square is a great opportunity for a fussy cut design. The orientation of the HST units is important to maintain the design and if many blocks are sewn together they form a pinwheel where the blocks meet.
Beginner’s Lesson and Block Tutorial
The beginner’s lessons and block tutorials for the Beginner’s Quilt-Along have been removed from this site and are now available for sale as a complete booklet.
Find out more about it here: Breezy Beginner’s Sampler Quilt.

Prizes for this Week
We have three prizes to give-away this week.
The Fat Quarter Shop have donated a set of their new Little P’s patterns. These quick and easy patterns are perfect for the beginner quilter.

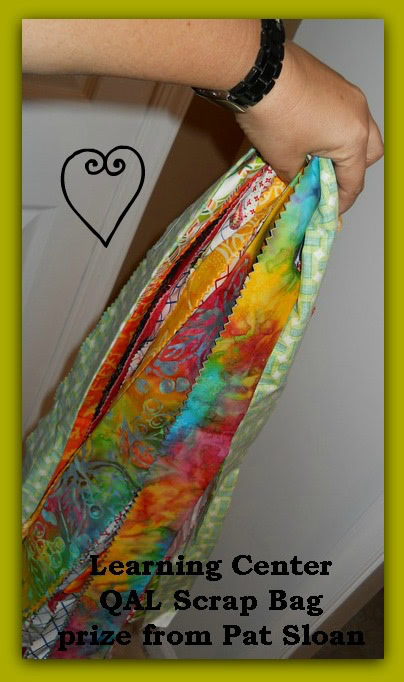
Pat Sloan has donated a scrap bag of her new fabric line with Moda Eat Your Fruits and Veggies.
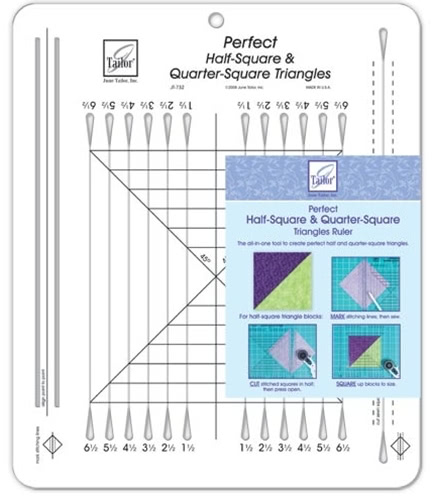
June Tailor has donated a Perfect Half-Square & Quarter-Square Triangles Ruler featured above.
Block 5 Winners
The winner of the Moda charm pack is:
The winner of the set of Little P’s patterns donated by the Fat Quarter Shop is:
If you’re a winner, please check your photo on Flickr for instructions.
I have never seen that tool before. It looks like something I need to take for a test drive! Great block and tutorial too :)
My block 6 is posted in the pool!
Very cool tool! I have a couple of the June Tailor rulers and love them both. Thanks for your quilt a long – I haven’t been able to start yet, but am saving all the patterns and directions for a little later this fall.
Char
This tool looks like a must have, ESP since we’re working with so many triangles! I’ll have to look for it