Please join me in welcoming guest blogger Jan Donley as she walks us through her method for machine appliqué. Thanks Jan for being a guest here at the Quilting Gallery.
I love appliqué quilts but I do not enjoy doing needle turn appliqué so I set out to learn how to appliqué by preparing the appliqué shapes before putting them onto my background fabric. I found using freezer paper and a glue stick a simple and fast way to accomplish my goal. I have used this method for both machine and hand appliqué with equally acceptable results, but this little explanation will be for machine appliqué.
Supplies needed to do this type of appliqué: Freezer paper, pencil, water soluble glue stick, paper scissors, fabric scissors, background fabric, fabric for the appliqué pieces, thread to match the appliqué, neutral thread for the bobbin and other basic sewing supplies.

Sewing machine requirements: Your sewing machine must have a zig zag stitch, and the stitch should have various widths. An open toe appliqué foot is also very helpful. Different models of machines have different capabilities, this explanation gives general guidelines, and you might need to consult your machine dealer or local quilt shop for more information.
Getting the applique ready: The first thing you need to do is have your appliqué drawn in reverse from the original design. (If the design is symmetrical you do not need to do this.)
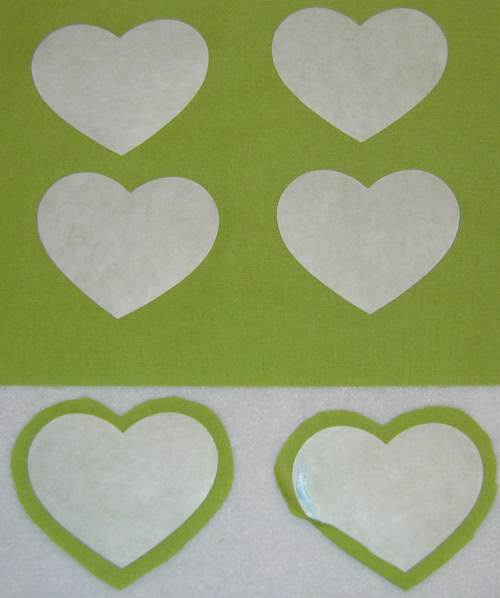
Second, draw your pattern onto the dull side of the freezer paper, trace one freezer paper pattern for each piece of your appliqué design. Make sure to leave enough room between traced patterns so they can easily be cut apart.
Now cut out your traced freezer paper patterns on the drawn line. Be careful here because the finished shape of the appliqué will look like the shape that is cut out.
Moving on to the fabric: Place the shinny side of the freezer paper patterns onto the wrong side of the fabric, leaving at least 1/2" between the pattern pieces. Iron the freezer paper pattern pieces to the fabric using a dry iron set on a wool to cotton setting.
Cut out your fabric shapes adding 1 /4" turn allowance around the outside edge. This does not have to be exact; I often refer to this as "whacking out the shape".
Turning the raw edge of the appliqué onto the paper is simple but does require a bit of patience and practice. Run your glue stick along the edge of the freezer paper pattern working with just an inch or two at a time. Gently turn the raw edge onto the freezer paper following the edge. If you have inner corners or a "V" clip into the "V" almost to the bottom, leaving a few threads to turn onto the freezer paper. If there are points fold one side and glue to the paper, fold the other side on top of the first side and glue in place. Do not cut off the extra that is hanging past the point. Gently fold this onto the glued seam allowances and secure with even more glue.
Getting ready to stitch the appliqué: Attach the open toe pressure foot to the machine. Set your sewing machine to a zig zag stitch with a width of 1 and a length of 2. These are just beginning adjustments you might have to tweak the settings a bit to get the best look possible. Position the appliqués onto the background fabric, pin or use a bit of glue stick in the center of the appliqué to hold it in place. Thread the sewing machine with thread that matches the appliqué in the needle and place a neutral thread in the bobbin.
Finally the fun part, it is time to sew the appliqués in place: When sewing the appliqué to the background the needle should zig just into the edge of the appliqué and then zag off the appliqué into the background. What is happening is the zig zag stitch is running along the folded edge of the appliqué. If an appliqué piece is to be placed on top of other appliqué piece, such flowers with centers, stitch the bottom appliqué first, remove the paper from appliqué (described in next step) and then stitch the top appliqué to the bottom appliqué.

How to remove the freezer paper pattern from the appliquéd piece: Place the appliqué piece wrong side up. Cut a slit through the background on the back of the appliqué. Using a slightly wet cloth (a bit more than damp) moisten the edge of the appliqué. Slip your finger through the slit in the background and loosen the appliqué seam allowance from the freezer paper, pull the freezer out through the slit in the background. Additional moistening of the edge might be necessary so the paper will release from the appliqué.
I hope that if you are reluctant to try appliqué by machine you will give this technique a try. There are many books available on machine appliqué so stop by your local quilt shop and investigate this fun technique.
Stitchingly:
Jan
Leave a Reply