Kim over at Persimon Dreams is hosting a My Favourite Block Quilt-Along and today is my special day. Thanks so much for the invite Kim.
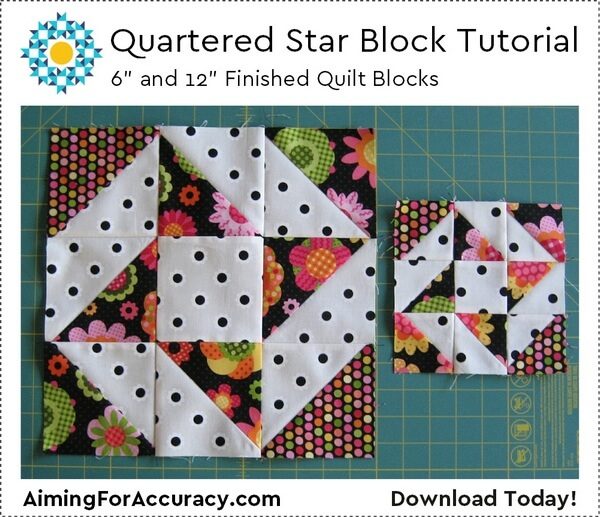
For my favourite block, I chose the Quartered Star as I really like how this block can be scrappy and still maintain it’s design effectively. Plus for the 12″ finished block, it’s great for using up charms to create the half-square triangles. Let’s get started with the tutorial…. it’s an easy one.

For this quilt-along, all of the designers are providing instructions for creating both a 12″ and 6″ finished block. Here are the cutting instructions for the Quartered Star:
| Fabric | # of Units | Cut for 12" Block | Cut for 6" Block |
|---|---|---|---|
| Background (white) | 1 | 4.5" square | 2.5" square |
| Background (white) | 4 | 5" squares | 3" squares |
| Corner Triangles (grey) | 1 | 5" square | 3" square |
| Star & Corner Triangles (black) | 3 | 5" squares | 3" squares |
For the instructions below, measurements in (brackets) are for the 6″ finished sized block.
Please note: The 5″ squares (3″ squares) are cut slightly over-sized so that the half-square triangle (HST) units can be trimmed accurately before being assembled into the block. If you prefer not to over-size the units, then cut the squares at 4 7/8″ (2 7/8″).
My fabrics:

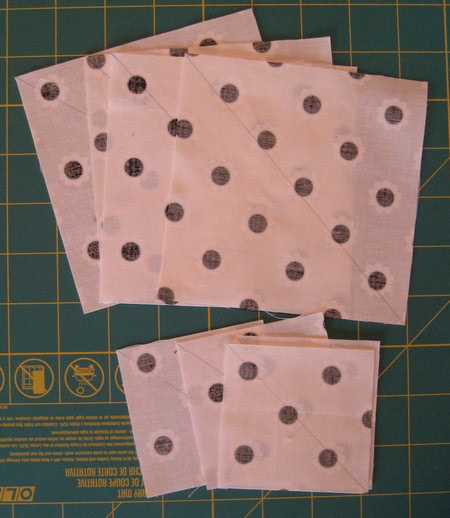
Step 1: Create the HST units. With the 5″ squares (3″ squares), on the back of your light fabric, draw a diagonal line from one corner to the other.
Step 2: Layer your background and star/corner triangle fabrics together with right sides facing. Sew a scant 1/4″ on each side of the drawn line.
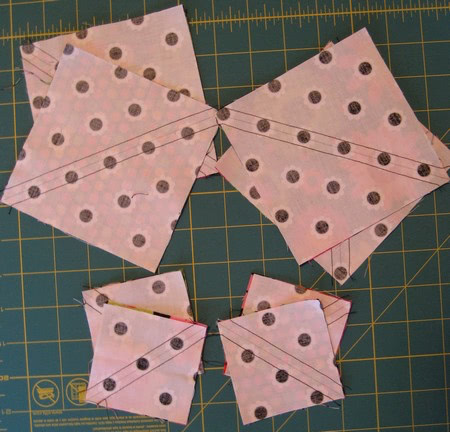
Step 3: Press each unit flat, then cut directly on the drawn line.
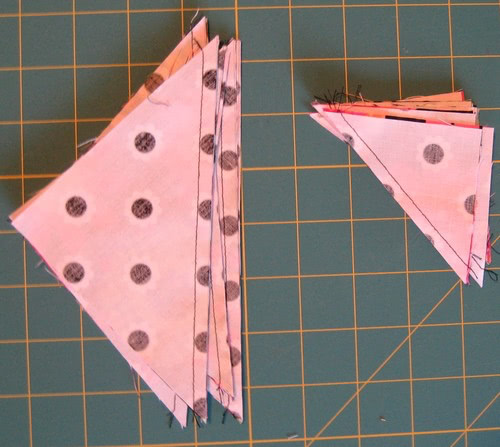
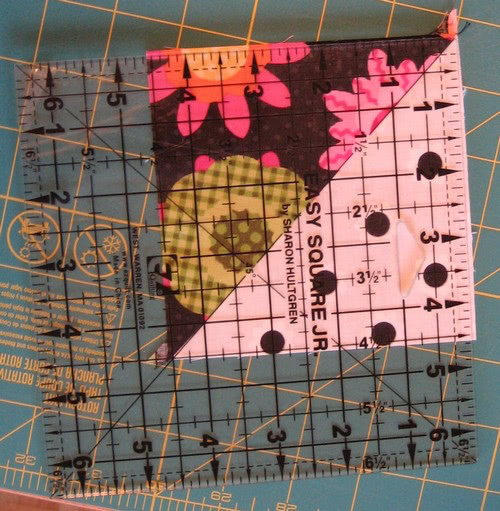
Step 4: Press each HST unit open, pressing towards the darker fabric. Trim your units to exactly 4.5″ (2.5″) square.
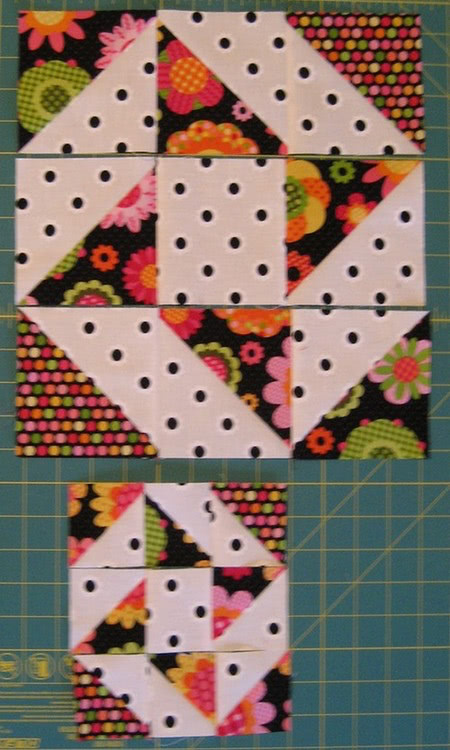
Step 5: Following the black & white diagram above, lay out your block units in the correct order.

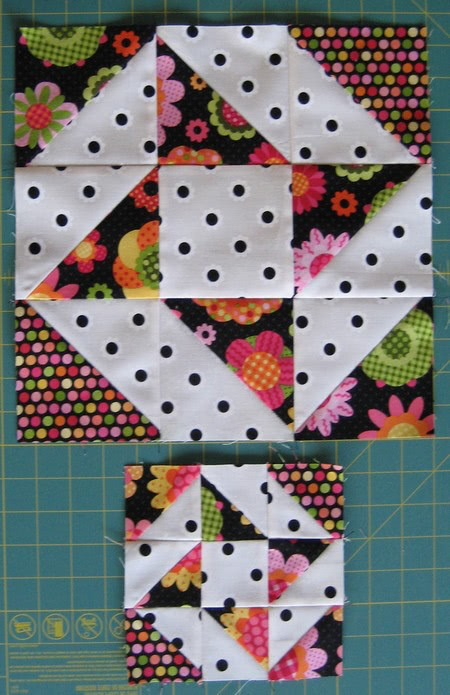
Step 6: Sew your units together into three rows. Press Rows 1 and 3 towards the outside edges. Press the middle row towards the middle block.
Step 7: Sew your rows together to complete the block. If you’ve pressed as indicated in Step 6, your seams should nest perfectly, creating a flat block. Press the rows towards the middle block or press open if you prefer.
That’s it .. easy, peasy right? If you need additional help creating the HST units, see my HST Tutorial that I created last year.
Download the tutorial:
I have created a PDF file for you. Download the tutorial for the Quartered Star block.
Share your completed blocks in our Aiming for Accuracy Facebook Group.
Quilt-Along:
I answered a few FUN questions that Kim asked … can you guess what my favourite number is? View my profile here.
Be sure to check out the previous blocks created for the My Favourite Block Quilt-Along. Also, Jane will have a new original block for you later this week, visit her: Quilt Jane.
Great tutorial Michele!
this is one of my favorite blocks, too!! :-)
This is such a cute block. Great for scrape quilts. thank you so much for the tutorial. xx
I have been doing the blocks with my Christmas fabric. Thanks for the tutorial. 3bakergirlsgo@gmail.com
I love this block but the fabric that you used is awesome…