
Hi everyone, welcome to Block 5 of the Beginner’s Quilt-Along (QAL). Can I just say how thrilled I am with all of your progress. You guys are doing amazing. I see your skills improving and your confidence. Keep it up … our next few blocks will be a breeze, just half square triangle designs.
If you’re new here, you can join the QAL at any time. Complete the blocks one at a time each week, or you can set your own pace. No stress! Most of all, have some fun and hopefully learn a few tips and tricks along the way. See the main Beginner’s QAL page for more information and additional links.
Pat Sloan is quilting along with us too. She’s making three sets of blocks using her gorgeous Eat Your Fruits and Veggies fabrics. Pat’s Block 5 interpretations will be available over the weekend on her blog.
Don’t forget to upload your completed block to the Flickr group each week for a chance to win prizes. Winners are chosen randomly from the completed blocks submitted by 2:00 p.m. EDT on Wednesday. Check the Sponsors and Prizes page to see all the goodies.
This week’s prizes and last week’s winners are at the end of this post.
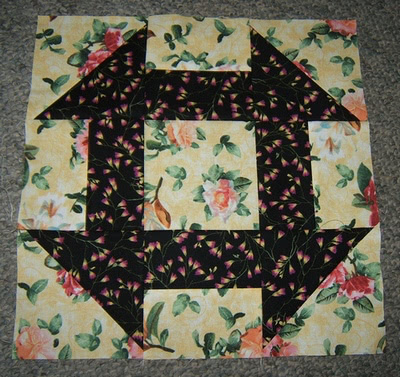
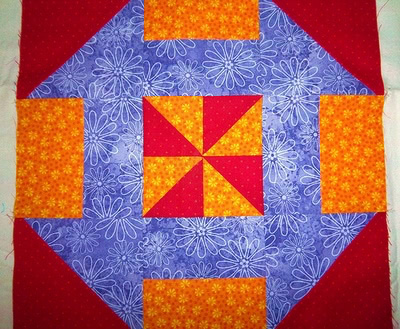
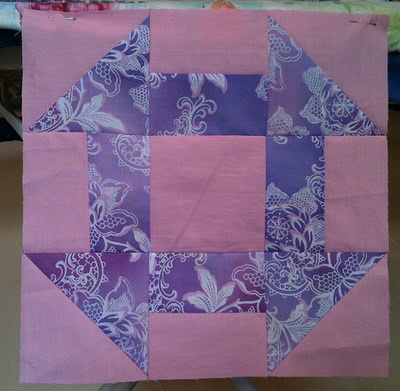
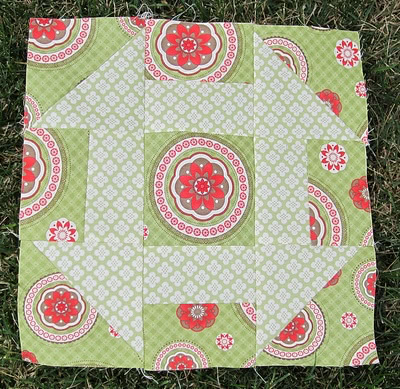
Block 5 – Count the Stars

Our fifth block is a Count the Stars. This block has many different and conflicting names but it is most commonly known as the Friendship Star. It’s a great block for scrap quilting.
Here’s a Mosaic of photos from Flickr featuring the this week’s block. You can click the links underneath to see the full image on Flickr.

A note about block colours: I chose to represent this block in two colours; however, you can use a different colour for the centre block and for the half square triangles. The design choice is yours to make.
Beginner’s Lesson and Block Tutorial
The beginner’s lessons and block tutorials for the Beginner’s Quilt-Along have been removed from this site and are now available for sale as a complete booklet.
Find out more about it here: Breezy Beginner’s Sampler Quilt.

Prizes for this Week
First, the Fat Quarter Shop have donated a set of their new Little P’s patterns. These quick and easy patterns are perfect for the beginner quilter.

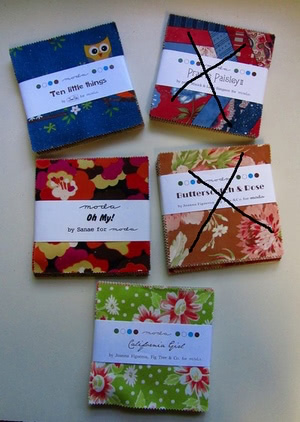
Second, we have a lovely charm pack from Moda to give-away (10 Little Things, Oh My and California Girl still available):
Block 4 Winners
The winners of the four Easy Square Jr. rulers donated by the Simplicity Creative Group are:
The winner of the set of Little P’s patterns donated by the Fat Quarter Shop is:

If you’re a winner, please check your photo on Flickr for instructions.
I wish I didn’t have to work today so I could get my block done!! I love this Quilt A Long!! Hurry up 5 pm!!
I’m behind and will be playing catch up with block 4 and now block 5. Thank you for the video clips and tutorials. When I see a completed quilt I say ‘I could never do that!’ but now I don’t feel that way. Hugs ‘n Smooches :)
I hope to work on this block tonight. I received the iron I won at the beginning of this Quilt Along. I love it and will share it on myl blog soon.
Does it matter which direction the star goes in? I looked at the photos and maybe 2/3 are going in one direction and the other 1/3 in the opposite direction. Is it just personal choice or is one way called the friendship star and the other way called something else? Thanks!